The best backups are automated (hence frequent), versioned (so you can recover from accidentally deleted or hacked files) and off-site (no worries about natural disasters or the host going bust).
To set them up you’ll obviously need somewhere to store them – this post uses Infomaniak kDrive as an example (because it’s European and has good privacy and ethical policies) but most cloud providers are supported.
Unfortunately, many server control panels can’t use this sort of cloud storage directly – they expect to backup by SFTP rather than S3 or WebDAV. This is where Duplicacy comes in – it’s fast, efficient and secure, available for Linux, OSX and Windows and the command line version is free for personal use. The catch is it’s a bit tricky to set up and the documentation is sparse, so that’s what this post is about.
This post is specifically about backing up websites from a Linux server – for backing up a PC or laptop it’s probably better to use Infomaniak’s official kDrive app.
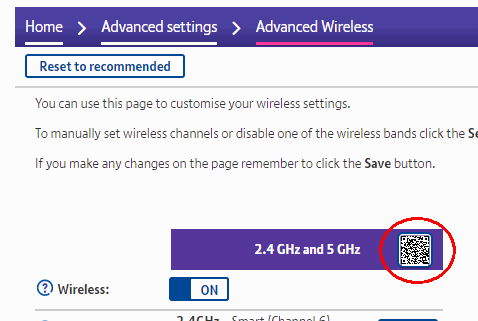
Continue reading Server backups to kDrive using Duplicacy I wish more people would do this, it makes access to Wifi much easier: